Upgrading from USB to XLR in 2026: The Ultimate Streaming Audio Guide
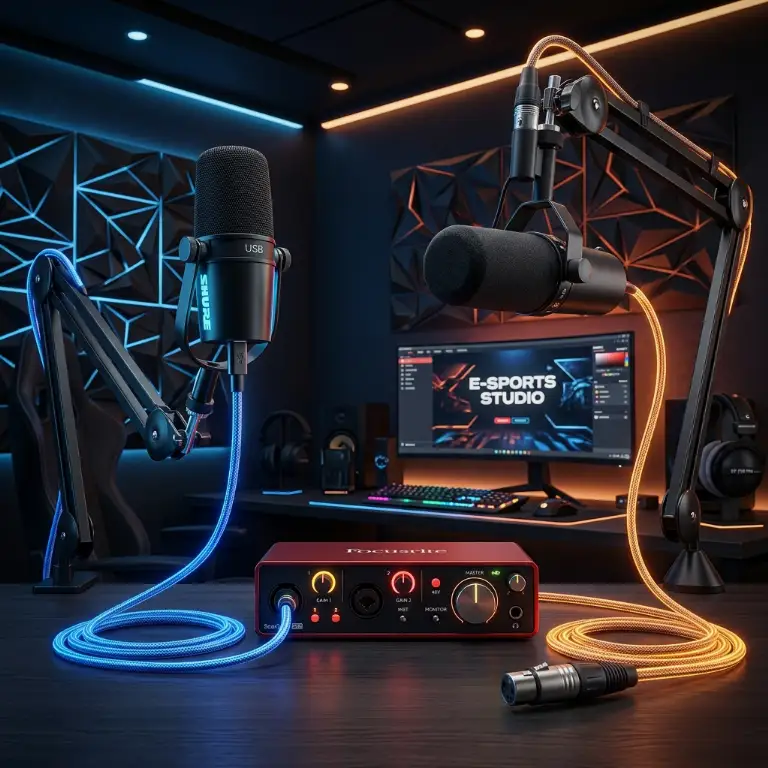
Audio often remains the neglected afterthought of beginner streaming setups, yet it is the number one reason viewers click away.
You can deliver god-tier gameplay in crystal-clear high definition, but if your voice is muffled by background hiss or clips every time you laugh, viewers will quickly tune out.
In 2026, fierce competition across livestreaming platforms demands flawless technical execution. While most creators kick off their journey with a simple plug-and-play USB setup, there inevitably comes a point where hardware limitations stall your production value.
That is precisely when the jump to XLR becomes unavoidable. Far from being an elitist indulgence, upgrading to XLR fundamentally transforms your audio workflow and instantly elevates your broadcast to professional broadcast standards. This comprehensive guide walks you through every step to build the ideal streaming audio setup.
Why USB Microphones Quickly Hit a Wall
USB microphones shine through pure convenience: plug it in and it just works. But beneath that simplicity lie major technical compromises.
Converting vocal soundwaves into digital data requires analog-to-digital conversion. In a USB mic, that conversion happens entirely inside the microphone body on an inexpensive integrated circuit. These budget components are forced to handle bus power, preamplification, and digital conversion all within a single cramped chassis.
Packing all these components so closely together inevitably causes electrical interference. Fluctuations in the power supplied by standard motherboard USB ports produce that familiar background hum or persistent high-pitched hiss.
On top of that, built-in preamps severely lack headroom. To achieve adequate broadcast volume, you have to crank software gain to the max, amplifying room noise, PC fan hum, and the mic capsule's own self-noise in the process.
Finally, USB microphones are an upgrade dead end. When you want better sound, you cannot simply swap out a single piece of your signal chain: you have to throw out the entire unit and start over.
You cannot patch in hardware vocal processing, run dedicated preamps, or connect multiple microphones to one machine without running into unstable virtual audio drivers. You remain locked in a closed ecosystem.
What XLR Brings to Your Streaming Setup
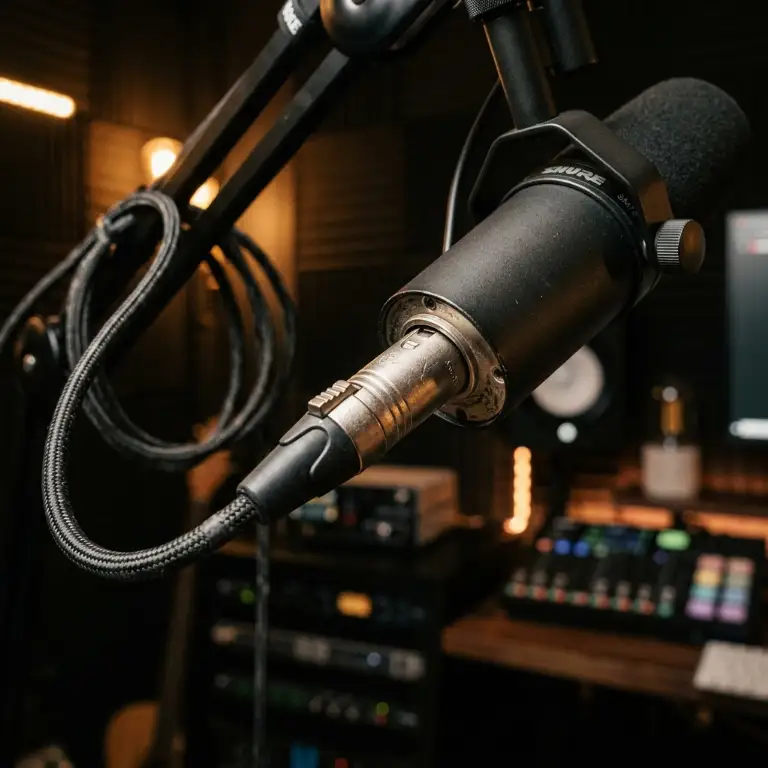
Switching to XLR means adopting the proven architecture of professional recording studios. The XLR connector itself is a rugged three-pin format designed to transmit a balanced audio signal. Balanced lines naturally cancel out interference and ground loop hum over long cable runs. But the true game-changer lies in the physical separation of tasks.
With an XLR setup, the microphone focuses exclusively on capturing the acoustic vibrations of your voice. Preamplification and digital conversion are moved entirely to a dedicated external hardware box: the audio interface. This isolation wipes out computer power bus hum. Dedicated interfaces house far superior preamps capable of supplying massive, clean gain without audible distortion.
Modularity becomes absolute. You can keep your mic and swap your interface for more inputs, or upgrade your microphone while retaining your hardware chain. You also gain tactile physical control: dedicated gain dials and volume knobs right at your fingertips, without alt-tabbing out of a ranked match. It guarantees a rich, punchy broadcast tone essential for keeping viewers hooked.
Top USB Microphones for Beginners and Travel
While USB reaches its ceiling in a permanent desktop battlestation, it remains unbeatable for beginner budgets and on-the-road streaming. Here are two standout picks.
Rode NT-USB Mini
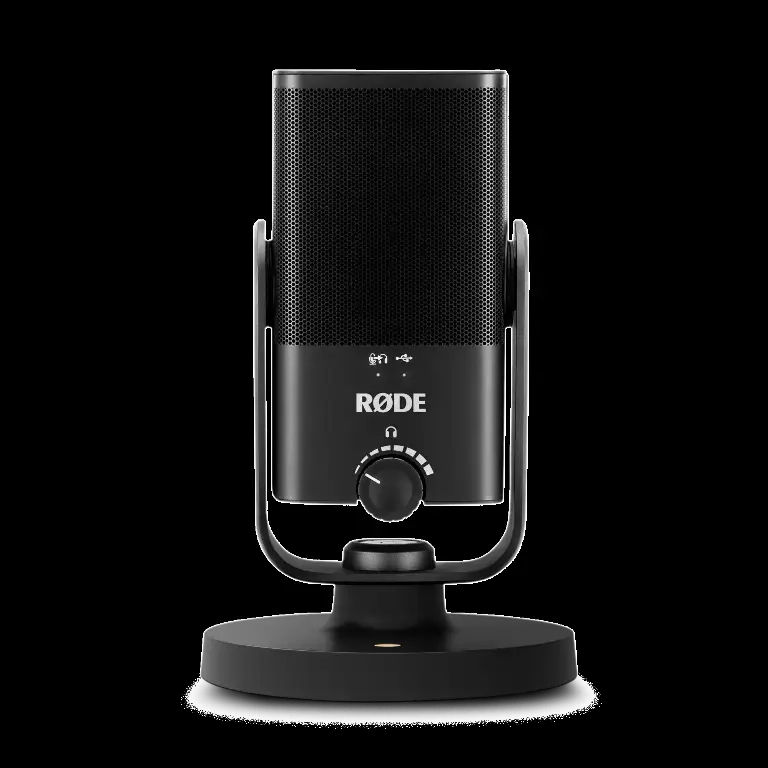
This ultra-compact mic packs signature Rode engineering. Its cardioid pickup pattern hones in on your voice while rejecting background clatter. A magnetic desk stand enables rapid positioning, and its built-in internal pop filter tames plosives effectively. It is a top-tier choice for launching a channel on a tight budget.
Elgato Wave:3

Elgato purpose-built this condenser microphone specifically for creators. While its capsule delivers sparkling, crisp high-end, its secret sauce is the Wave Link virtual mixing suite, allowing you to create separate sub-mixes for your headphones and your stream. Built-in Clipguard hardware technology automatically prevents ugly distortion during high-energy livestream moments.
Top XLR Microphones to Level Up Your Broadcast
Upgrading to XLR requires more upfront investment, but the leap in fidelity is night and day. These three dynamic models naturally reject background room clutter and keyboard clatter.
Rode PodMic
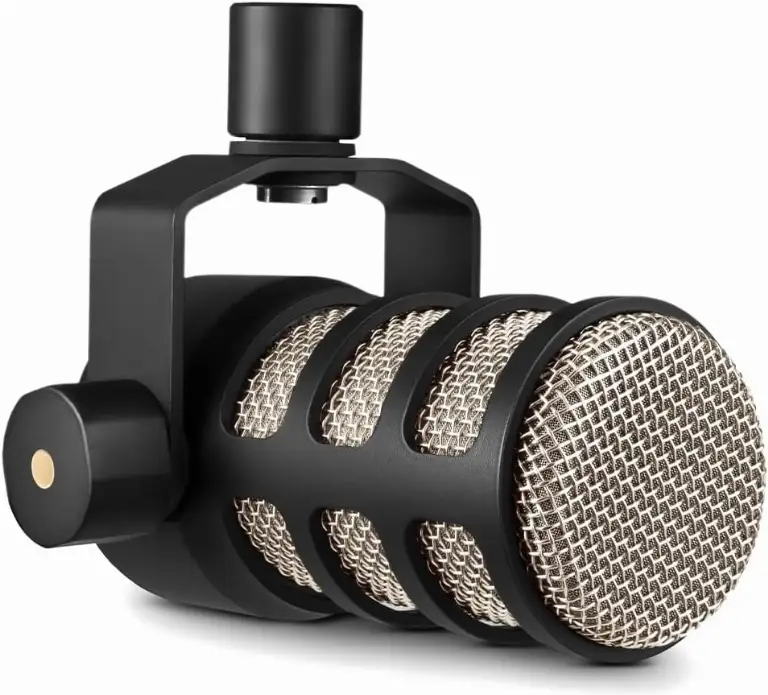
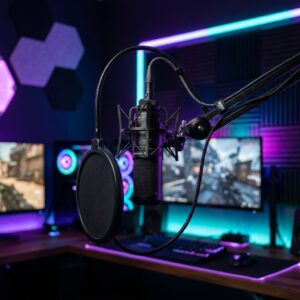
The PodMic is an absolute darling among streamers and podcasters. Built like a tank with an all-metal chassis, this broadcast-tuned dynamic mic produces a warm, rich low end with excellent vocal presence. Its integrated stainless-steel mesh pop shield handles harsh consonants effortlessly. It demands a capable audio interface to reach full volume, but its price-to-performance ratio remains unbeatable.
Shure MV7X

The MV7X is the dedicated XLR sibling to Shure's celebrated hybrid MV7. It inherits the brand's proprietary Voice Isolation Technology, isolating your vocal tone with surgical precision even in untreated bedrooms. Easy to drive, it delivers broadcast-grade performance without requiring an expensive inline signal booster.
Shure SM7B

The gold standard of radio broadcast and flagship Twitch streams. The legendary SM7B boasts a warm, velvety sonic signature that flatters any vocal timbre. Heavy internal electromagnetic shielding protects against monitor buzz and PC interference. Keep in mind: its gain-hungry dynamic cartridge requires a high-output preamp or an inline signal booster to shine.
The Audio Interface: The Centerpiece of Your XLR Rig
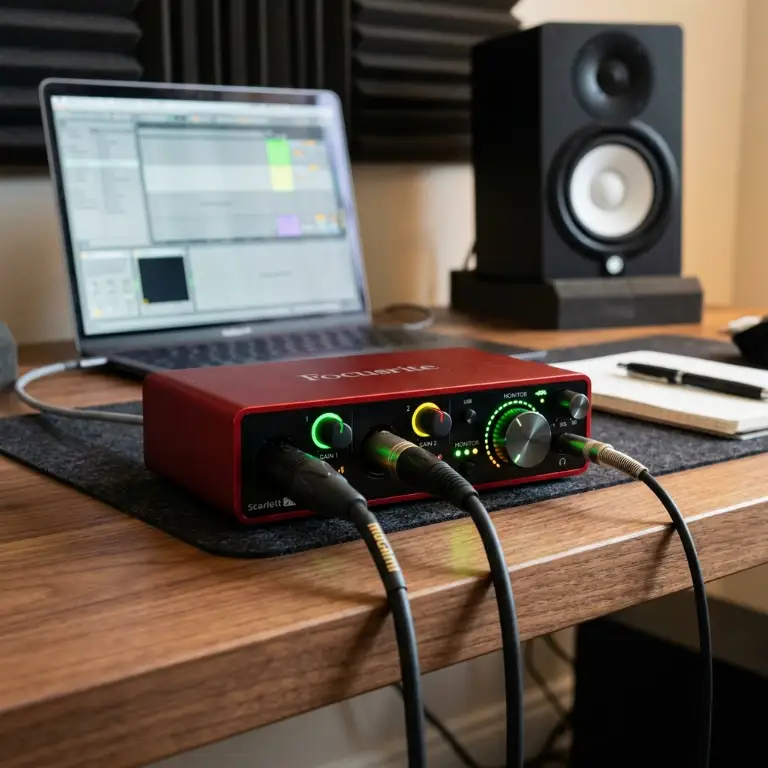
Connecting an XLR microphone to your PC requires an external USB audio interface. This dedicated hardware powers the mic, preamplifies weak analog signals, and handles analog-to-digital conversion.
Focusrite Scarlett 2i2 4th Gen
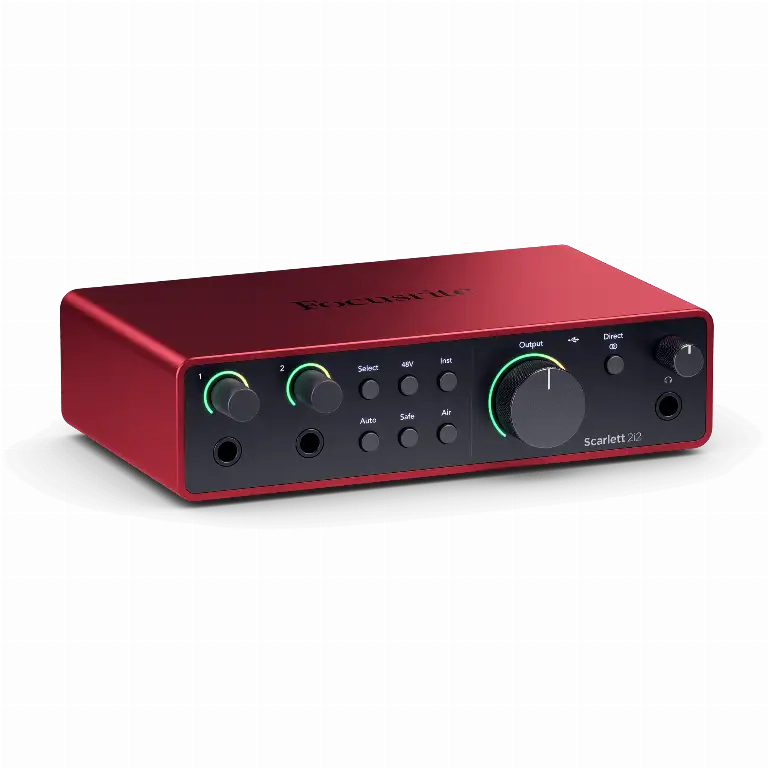
The Scarlett lineup is the undisputed benchmark for consumer and prosumer audio interfaces. This fourth-generation overhaul features ultra-clean preamps boasting an impressive 69 dB of gain, effortlessly driving demanding dynamic microphones without hiss. Auto Gain sets your volume levels automatically, while the Clip Safe function prevents digital clipping when you get hyped during clutch plays.
Buyer's Checklist: Assembling Your First XLR Setup
Building your initial XLR setup requires gathering a few complementary components. Here is everything you need to get up and running:
The microphone is the foundation of your sound. For streaming, opt for a dynamic microphone over a sensitive condenser. Dynamic mics naturally filter out room reverberation, mechanical keyboard clicks, and PC exhaust fans.
Choose a USB audio interface that matches your workflow. A unit like the Scarlett 2i2 enables zero-latency direct headphone monitoring and hands-on gain adjustments via tactile analog dials.
An XLR cable bridges your microphone to the interface. A quality cable from a reputable audio manufacturer (such as Cordial or Mogami) fitted with rugged Neutrik connectors ensures clean, interference-free shielding.
A heavy-duty microphone boom arm is essential. Dynamic XLR microphones are hefty pieces of gear requiring sturdy suspension arms with reinforced springs to prevent desktop desk sag and eliminate rumble vibrations.
An inline preamp (booster) is critical for low-sensitivity microphones. If you pick the Shure SM7B, adding an inline activator like a Cloudlifter CL-1 or sE Electronics Dynamite injects 20 to 25 dB of ultra-clean gain using phantom power without maxing out your interface preamps.
Acoustic Prep: Getting the Most Out of Your XLR Rig
Owning top-shelf audio hardware means nothing if your room acoustics sound like an empty cavern. You do not need to plaster walls with cheap acoustic foam: area rugs, thick window drapes, and full bookshelves work wonders at breaking up unwanted flutter echoes. Always speak within three to four inches of your dynamic mic, and position the rear rejection point toward your mechanical keyboard to isolate clicks.
If you want to match this pristine audio fidelity with competitive gameplay in live tournaments, be sure to check out our esports training and preparation guide. An engaging stream starts with flawless production value, but thrives on daily competitive discipline.
Upgrading to XLR is an investment, but once you experience clean vocal clarity and hardware modularity, you will never look back. It is time to give your community the broadcast-tier audio they deserve.

SEO consultant for over 20 years and digital entrepreneur, Charles 'Grimtag' Ronchain is the founder of Pro-Gamer.gg, Retrocharting.com, and Gamescharting.com. A competitive gamer, streamer, and retro game collector, he has worked in the video game industry for over 15 years, notably as a consultant for leading game price comparison platforms. Passionate about real-time performance data and gaming technology, he analyzes competitive esports, gaming hardware benchmarks, and creator workflows on Pro-Gamer.gg with an authentic player perspective.