Modern Warfare 4 DMZ Blackmarket Locker Locations Guide: Where to Find the B7 and C2 Basements on Hajin and How to Get Keys
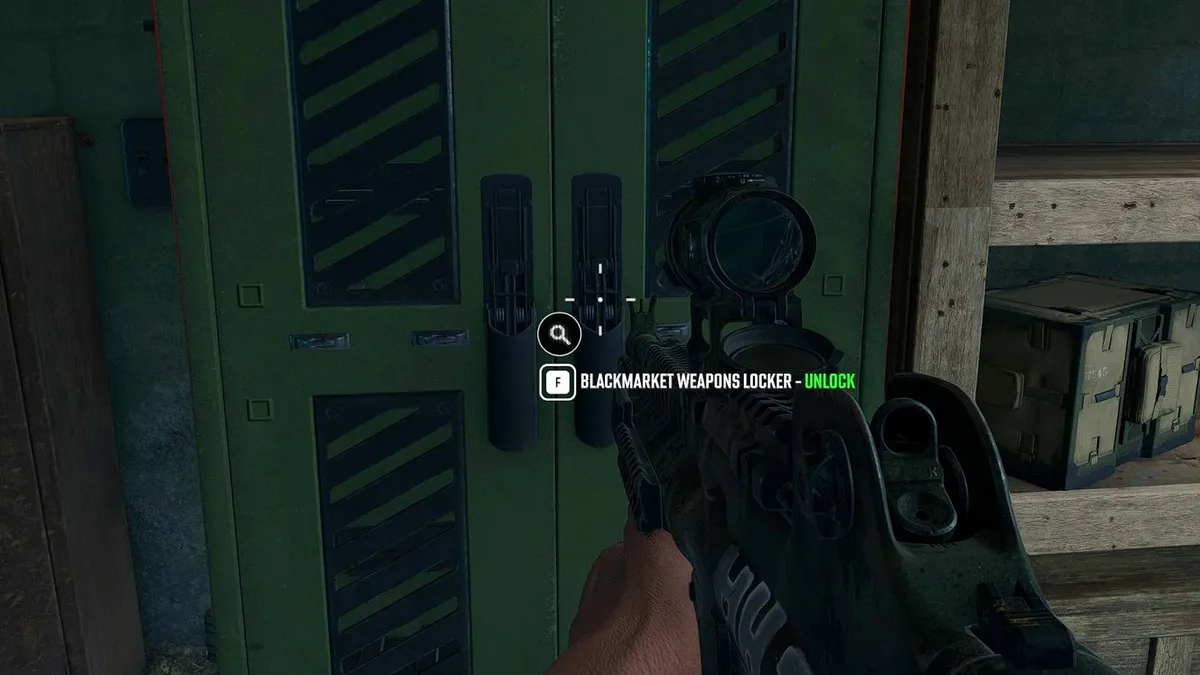
Securing a Blackmarket Weapons Locker Key during an infiltration in Call of Duty: Modern Warfare 4 DMZ gives your squad direct access to some of the highest-tier contraband weaponry in the exclusion zone. However, carrying a key into the field is a liability if you do not know the exact basement layouts on the Hajin map. Here is the complete tactical breakdown of both underground Blackmarket locations in Grid B7 and Grid C2, along with the fastest ways to acquire keys.
How to Get a Blackmarket Weapons Locker Key in MW4 DMZ
Before heading toward either underground stash on Hajin, keep one critical mechanic in mind: every Blackmarket Weapons Locker Key is strictly single-use and only unlocks one individual locker. Because each underground Blackmarket room houses two separate weapons lockers side by side, you will need to bring two keys (or coordinate inventory slots with a teammate) if you want to clean out both containers in a single deployment.
There are two primary methods to obtain Blackmarket Weapons Locker Keys in Modern Warfare 4 DMZ:
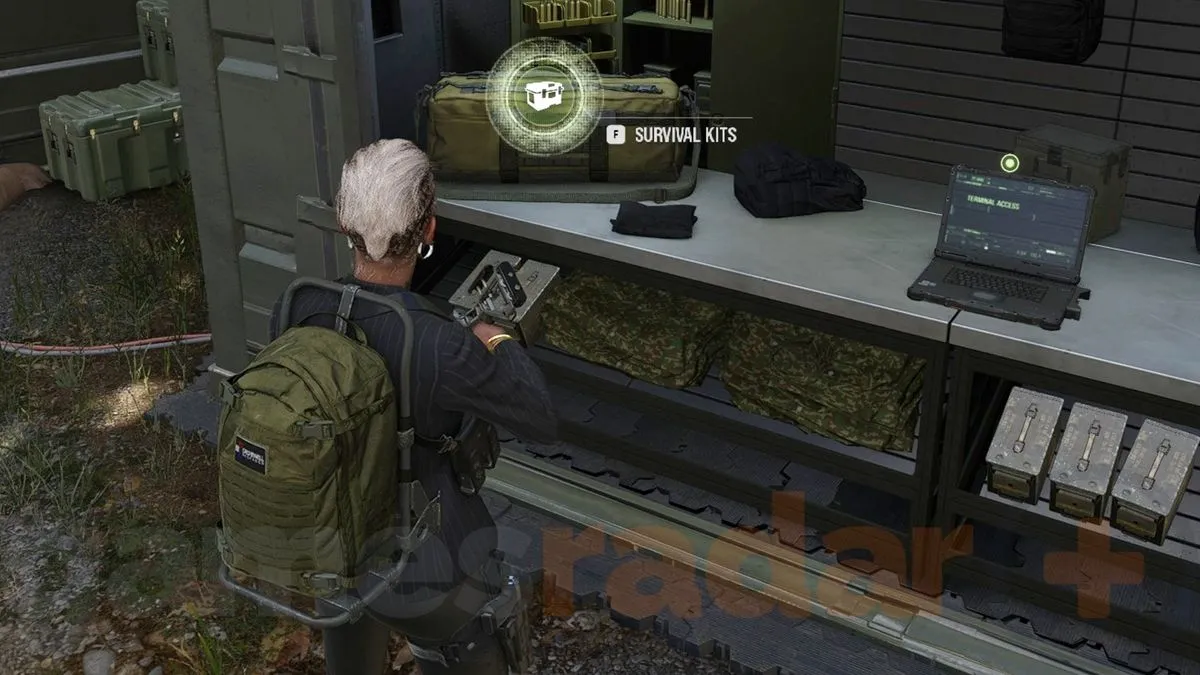
- Guaranteed FOB Progression Reward (DMZ Level 46): Reaching DMZ Level 46 rewards your account with a Recon Equipment Kit. Opening this crate at the Survival Kits station inside your Forward Operating Base (FOB) grants a guaranteed Blackmarket Weapons Locker Key. Faction missions and seasonal milestones also supply additional Survival Kits over time.
- Random World Loot Across Hajin: Keys can spawn dynamically inside hanging jackets, duffle bags, military supply caches, and high-tier loot zones across the map, much like the items you track down when sweeping the 5 Police Stations and electronic sensors on Hajin.
Location #1: South Deadtown Blackmarket Basement (Grid B7)
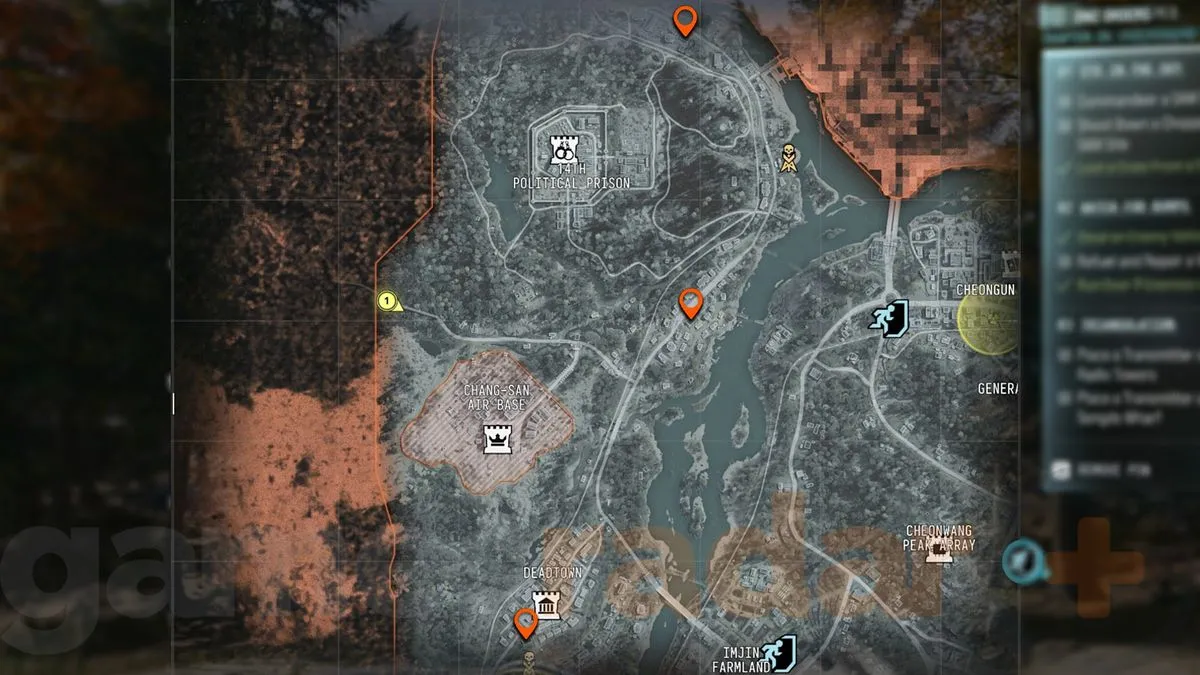
The first underground Blackmarket stash is located in the southern half of the Hajin map within the dense urban district of South Deadtown, situated in Grid B7 on your Tac-Map.
- Visual Landmark: Look for the structure positioned immediately south of the Deadtown Clinic and directly north of the Lieutenant Hunt Tower.
- Step-by-Step Route to the Lockers: Enter through the gated front entrance on the ground floor and push straight toward the back room. Look to your right to spot the staircase descending into the basement. At the bottom of the stairs, turn left and pass through the double doors to enter the caged underground room housing the two Blackmarket Weapons Lockers.
Location #2: Hanrim Village Blackmarket Basement (Grid C2)
If Deadtown is crawling with enemy operators, a second underground Blackmarket room offering identical loot tables is tucked away in the northernmost suburb of the map at Hanrim Village, located in Grid C2.
- Visual Landmark: Head to the northern sector of Hajin (northwest of the Revolution Dam and directly north of the 14th Political Prison). On the eastern side of Hanrim Village, locate the tight cluster of buildings sitting immediately west of the local Gas Station.
- Step-by-Step Route to the Lockers: Step inside the target building just west of the Gas Station and move into the back office on your right. Take the stairs leading down into the cellar, then open the door on your left at the bottom of the steps to reach the caged back room containing both Blackmarket Weapons Lockers.
Blackmarket Locker Loot Pool and Extraction Strategy
Opening a Blackmarket Weapons Locker rolls high-value cash stacks, tactical gear, and randomized custom contraband firearms ranging up to Epic and Ultra rarity. Stockpiling these multi-attachment weapons is one of the fastest ways to gear up a squad before attempting high-risk endgame objectives like the X01 underground facility and Deep Vault on Hajin.
| Hajin Sector | Tac-Map Grid | Primary Landmark | Total Lockers | PvP Traffic Risk |
|---|---|---|---|---|
| South Deadtown | B7 | South of Deadtown Clinic / North of Lieutenant Hunt Tower | 2 Lockers (1 Key per Locker) | High (central urban chokepoint) |
| Hanrim Village | C2 | Building immediately west of the local Gas Station | 2 Lockers (1 Key per Locker) | Low to Moderate (northern outskirts) |
The Strategist's Take
Whenever I queue solo or in a duo, I skip the South Deadtown basement in Grid B7 unless I spawn right on top of it. The street between the Deadtown Clinic and the Lieutenant Hunt Tower is a notorious PvP funnel during the first ten minutes of a match, and that basement only has a single staircase exit. If an enemy squad hears footsteps below ground, they only have to hold the top of the stairs to trap you inside.
Routing north to Hanrim Village in Grid C2 is a much smarter play for consistent extractions. Operator traffic in the northern suburb is noticeably lighter, the adjacent Gas Station lets you refuel and repair a vehicle immediately after looting, and you can rotate toward a northern exfil without crossing central sightlines. One final inventory rule: never burn two keys at once as a solo player if you are still wearing a standard Small Backpack. Without a Medium or Large Backpack providing a third stowed weapon slot, you will be forced to leave one of your firearms behind on the basement floor.

Born and based in Montreal's Mile End district, Maëlle "Kaelen" became close friends with Chaya during their university software engineering years, bonding over late-night coding labs, campus LANs, and World of Warcraft raids alongside Grimtag and Heimdall. A game systems balancing consultant and lifelong theorycrafter, she cut her teeth in the early 2010s writing boss walkthroughs, frame-data breakdowns, and competitive meta guides for specialized French-language MMORPG and esports portals, including Mondes Persistants, as well as North American strategy collections. On Pro-Gamer, she leads in-depth walkthroughs, build optimization, and tactical esports coverage.