GTA 6 Bank Robbery Guide: How to Get Into All 8 Bank Vaults, Earn Up to $205,000, and Rob All 22 Locations
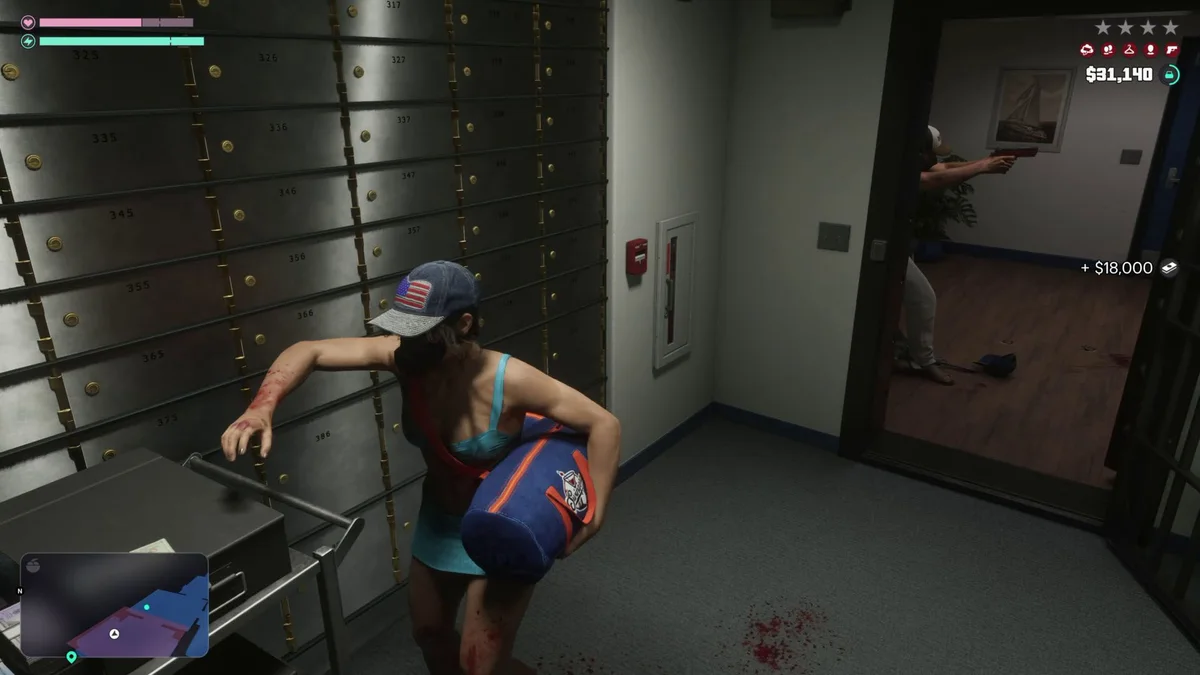
Tired of emptying convenience store cash registers or cracking small wall safes in back alleys across Leonida? In Grand Theft Auto VI, bank robberies stand out as the most lucrative repeatable open-world criminal activity in the game, offering payouts reaching up to $205,000 per bank vault at high-end branches in Vice City. Across the entire map, there are 22 robbable banks split into 14 small banks and 8 large banks equipped with high-security vaults. However, you cannot simply walk into a major bank branch at the start of the campaign and blow the vault door open. Here is the complete breakdown of how to unlock both bank robbery tiers, use armored security vans to slip inside open vaults, disable explosive dye packs, and launder your Marked Bills.
1. How to Unlock the 14 Small Banks and the Dye Pack Jammer (Chapter 3)
Do not waste time trying to farm bank robberies during Chapter 1 in Port Gellhorn. Not only are open-world bank heists locked early on, but Jason and Lucia lose their Chapter 1 cash balance when the first chapter concludes. Bank robberies open up in two separate stages tied to your main story progression.
The first tier unlocks during Chapter 3 once you complete the main story mission "Credit Check" (Meet Raul's Crew). Finishing this mission unlocks three crucial elements for your criminal enterprise:
- Access to All 14 Small Banks: These neighborhood branches pay between $5,000 and $45,000 per robbery by clearing out the front counter drawers and the backroom safe.
- Payday Loan Robberies: Knocking over at least two Payday Loans outlets is a mandatory requirement before Yasmani starts offering armored van intel later in the game.
- The Dye Pack Jammer: Handed over by Raul's crew during Credit Check, this electronic device blocks the anti-theft explosive dye packs hidden inside stolen bank cash (Marked Bills). If you attempt a bank heist without the Dye Pack Jammer active in your kit, the dye packs detonate as soon as you flee the scene, ruining the bills and making them worthless to every fence in Leonida.
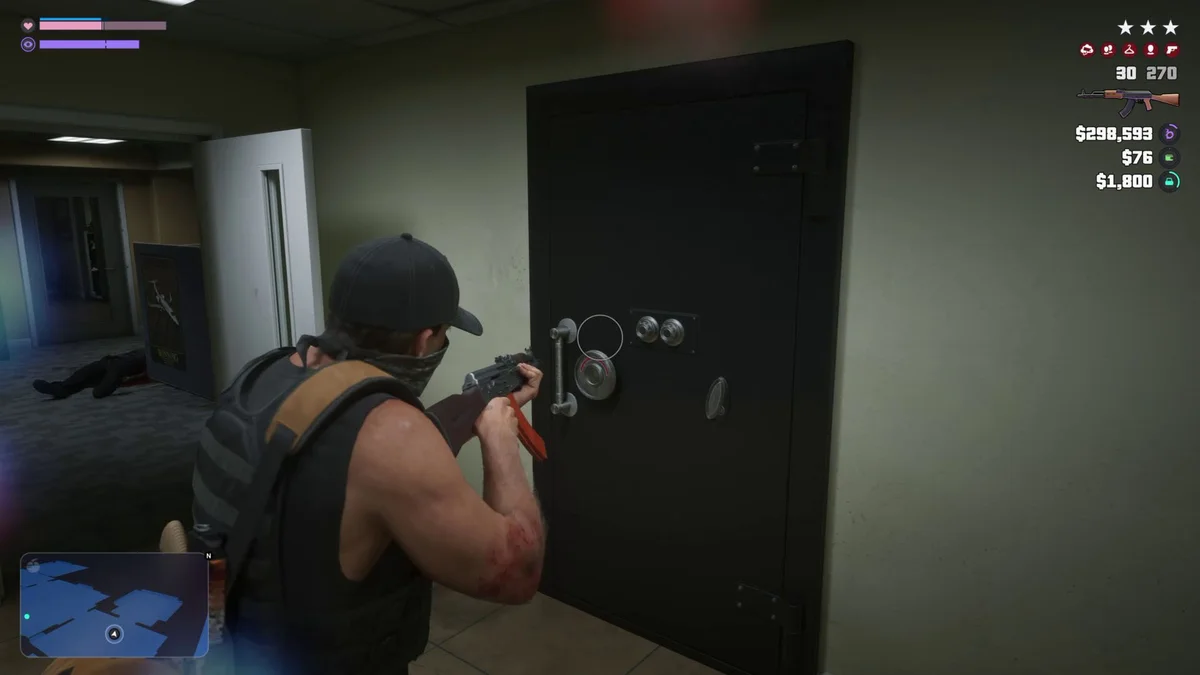
Alongside Raul's mission in Chapter 3, make sure to complete the early jewelry jobs for Yasmani (Yasmani's Jewelry Jobs) to unlock the Snap Gun. This lockpicking tool lets you silently breach a bank's side or rear service door without immediately tripping exterior alarms.
100% Completion Rule: For any bank to count as officially completed on your 22-bank checklist, you must loot both the teller cash drawer and the backroom safe. Leaving either one behind leaves the location marked as unfinished.
2. How to Unlock and Get Into the 8 Large Bank Vaults at the End of Chapter 4
If you walk into a major Lombank, Fleeca, or Shorefront branch in Vice City under normal free-roam conditions, you will find the massive circular vault door sealed shut. Unlike backroom safes in small branches, large bank vaults cannot be lockpicked with a Snap Gun or blasted open on demand.
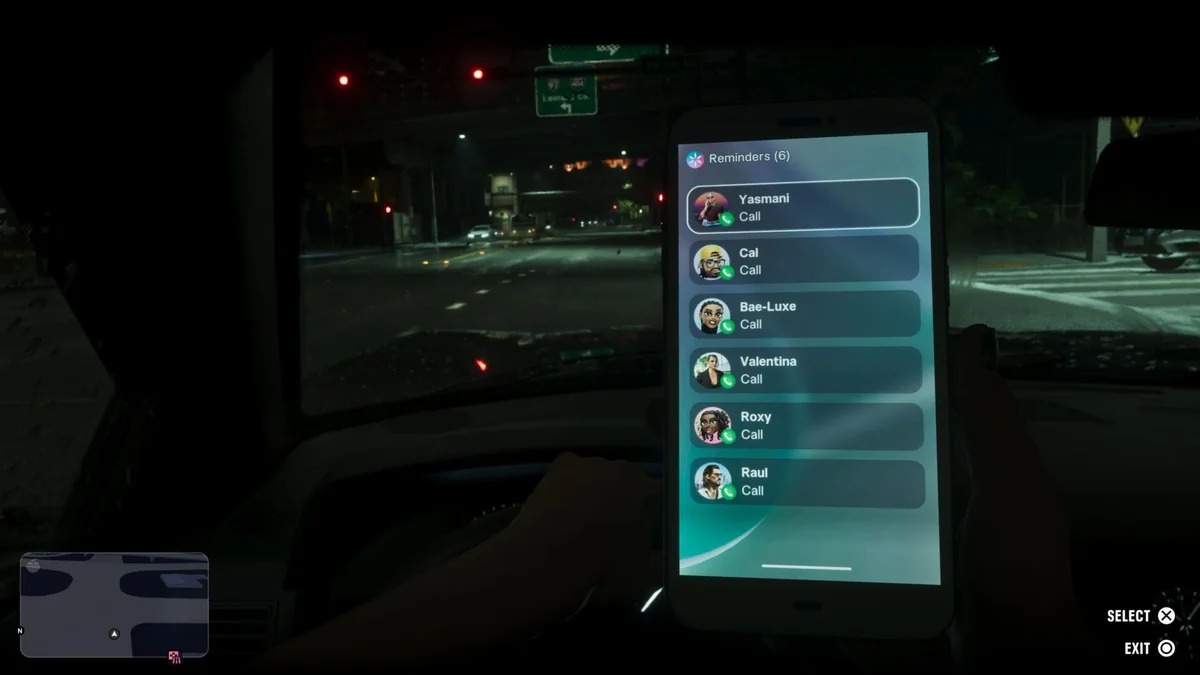
To unlock repeatable Large Bank Vault robberies, you must reach the end of Chapter 4, complete your Vice City jobs for Yasmani, and finish the major heist mission "VCIA Takedown". Following that operation, the story enters a brief cooldown period where Jason and Lucia are told to lie low. During this window, Yasmani contacts you with a tip about an armored cash delivery truck (Security Van) moving through Little Cuba.
Follow these exact steps to crack your first large bank vault and repeat the process in free roam:
- Trigger "That's Where the Money Is..." at Café Orquidea: Once Yasmani messages you near the end of Chapter 4, head to the Cuban restaurant Café Orquidea in Little Cuba and wait at the prompt to start this optional side quest.
- Tail the Armored Security Van: Follow the money truck at a safe distance through traffic so you do not spook the guards. The van will eventually pull into its destination branch (the medium-security Lombank in Ocean Beach during the introductory quest).
- Strike During the Cash Transfer Window: Wait for the armored car guard to step out carrying a cash briefcase and walk inside the bank. To process the pickup or drop-off, the bank staff temporarily unlocks and leaves the heavy bank vault door wide open.
- Breach, Control the Crowd, and Disable Alarms: Equip body armor and a suppressed weapon. Enter the building, take down the armed guards, hold the clerks and civilians at gunpoint so nobody hits a panic button, disable the main security box, and push through the back door directly into the open vault.
- Clear the Vault, Safe Deposit Boxes, Safe, and Drawer: Fill your duffel bag with stacks of Marked Bills and pry open the interior safe deposit boxes, then make sure to grab the cash drawer and secondary safe so the branch registers as 100% complete.
- Buy $10,000 Security Van Tips from Yasmani: Completing "That's Where the Money Is..." permanently unlocks all 8 large bank vaults across Leonida. From then on, you can either spot and tail an armored security van organically in traffic or call Yasmani to purchase a guaranteed security van schedule tip for $10,000.
3. All 8 Large Bank Vault Locations & Payouts (Up to $205,000)
The 8 large bank vaults are primarily located across Vice City (Downtown, Ocean Beach, and the VCIA district), with one northern branch situated in Tequesta on Gloriana Key. Successfully robbing 5 large bank vaults and escaping police pursuit unlocks the "Maximum Withdrawal" Silver Trophy / Achievement.
| Large Bank Vault | District / Region | Security Level | Vault Payout Range (Marked Bills) |
|---|---|---|---|
| Lombank (Downtown Main Branch) | Vice City (Downtown) | High | $135,000 to $205,000 |
| Lombank (Ocean Beach Primary Vault) | Vice City (Ocean Beach) | High | $135,000 to $205,000 |
| Fleeca (Downtown) | Vice City (Downtown) | High | $100,000 to $150,000 |
| Fleeca (VCIA) | Vice City (VCIA District) | High | $100,000 to $150,000 |
| Shorefront (Ocean Beach) | Vice City (Ocean Beach) | High | $95,000 to $140,000 |
| Fleeca (Ocean Beach) | Vice City (Ocean Beach) | High | $75,000 to $135,000 |
| Lombank (Ocean Beach Secondary Vault) | Vice City (Ocean Beach) | Medium | $75,000 to $135,000 |
| Fleeca (Tequesta) | Gloriana Key (Tequesta) | High | $65,000 to $110,000 |
4. All 14 Small Bank Locations & Payouts Across Leonida
Available starting in Chapter 3 after completing "Credit Check", these 14 smaller branches do not require waiting for an armored van delivery, and all 14 must be robbed (cash drawer plus safe) to reach 100% completion.
| Small Bank Branch | Area / County | Security | Payout Range |
|---|---|---|---|
| Lombank (Bayside) | Bayside (Vice-Dale County) | Medium | $15,000 to $45,000 |
| Lombank (Ocean Beach Small Branch) | Ocean Beach (Vice City) | High | $15,000 to $45,000 |
| Druthers State Bank | Leonard County | High | $15,000 to $45,000 |
| Gibson Brothers Bank | Mariana County (Leonida Keys) | High | $10,000 to $30,000 |
| Fleeca (Washington Beach) | Washington Beach (Vice-Dale County) | High | $10,000 to $30,000 |
| Fleeca (Key Lento) | Key Lento (Mariana County) | Medium | $5,000 to $20,000 |
| Shorefront (Watson Bay) | Watson Bay (Mariana County) | Medium | $5,000 to $20,000 |
| Lombank (Peacock Bay) | Peacock Bay (Vice-Dale County) | Medium | $5,000 to $20,000 |
| Fleeca (Peacock Bay) | Peacock Bay (Vice-Dale County) | High | $5,000 to $20,000 |
| Shorefront (Rockridge) | Rockridge (Vice-Dale County) | Medium | $5,000 to $20,000 |
| Shorefront (Ambrosia) | Ambrosia (Kelly County) | Medium | $5,000 to $15,000 |
| Fleeca (Ocean Beach Small Branch) | Ocean Beach (Vice City) | Medium | $5,000 to $15,000 |
| Shorefront (Downtown Small Branch) | Downtown (Vice City) | Medium | $5,000 to $15,000 |
| Shorefront (Ocean Beach Basic Branch) | Ocean Beach (Vice City) | Low | $5,000 to $15,000 |
5. Escaping the Instant 4-Star Wanted Level and Laundering Marked Bills
Stepping inside any of the 8 large bank vaults immediately triggers a 4-star Wanted Level, deploying tactical police units, helicopters, and bridge blockades across the island. To master how outfit descriptions, license plate tracking, and persistent Heat affect your escape, check out our GTA 6 wanted levels and Heat system guide.
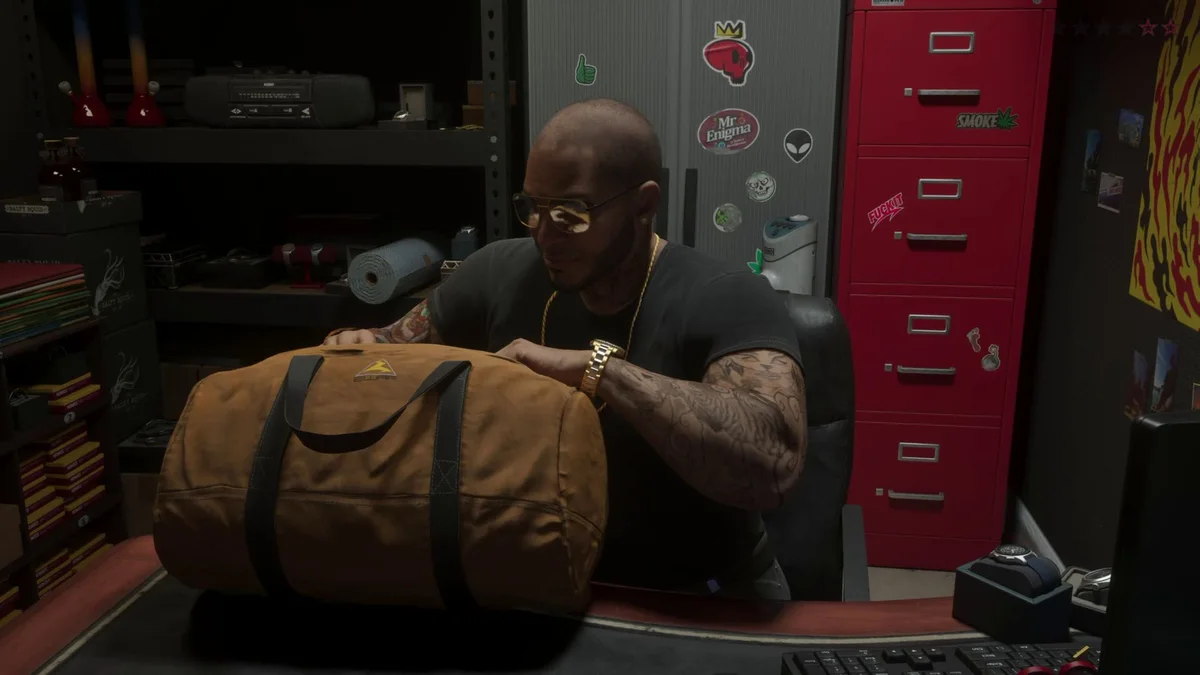
To secure your duffel bag and clear your wanted level in under five minutes, rely on these three getaway tactics:
- Use a High-Speed Boat in Ocean Beach: When robbing the four vaults in Ocean Beach (Lombank, Fleeca, and Shorefront), head straight for the nearby dock and jump onto a high-speed watercraft. Pushing out into open water breaks police line-of-sight much faster than fighting through island bridge roadblocks.
- Pair a Fast Motorcycle with a Vehicle Swap in Downtown: For Downtown and VCIA vaults, park an agile motorbike near the side exit to weave through congested city traffic, then duck into a covered parking garage to swap into a clean car so police dispatch loses your vehicle description.
- Launder Your Marked Bills at a Fence: Every dollar pulled from a bank vault is paid out in Marked Bills, which cannot be spent directly at regular stores. Once the police search ends, deliver the stash to Yasmani in Little Haiti or check our complete GTA 6 fence locations guide to turn your marked loot into clean money.

My Perspective
By tying large bank vault doors to live armored van deliveries and Yasmani's informant network rather than a generic button prompt, Rockstar Games made open-world heists feel genuinely earned. I love how the tools you pick up in Chapter 3, from the Snap Gun to Raul's Dye Pack Jammer, directly feed into the high-stakes vault runs at the end of Chapter 4. Tailing a security truck to the Downtown Lombank, slipping into the open vault while the guards transfer their briefcases, and sprinting out into a 4-star manhunt with $205,000 in Marked Bills slung over your shoulder delivers the exact rush a sandbox crime game should have.

Grand Theft Auto 6 (GTA 6)
Explore official trailers, technical specs and all latest coverage for Grand Theft Auto 6 (GTA 6).

Based on the outskirts of New York City, Chaya 'Chayane' spent five years studying software engineering in Montreal before returning to her home state. A Full-Stack developer and Deep Learning AI architecture researcher, she explores neural networks and algorithmic optimization while engineering data pipelines for Retrocharting and Gamescharting alongside Grimtag. A gamer for over 20 years and an avid collector of Nintendo history and The Legend of Zelda, she explored World of Warcraft's Azeroth before bringing her deep technical background to video game analysis.